Faux Shiplap Feature Walls
Faux Shiplap Feature Walls
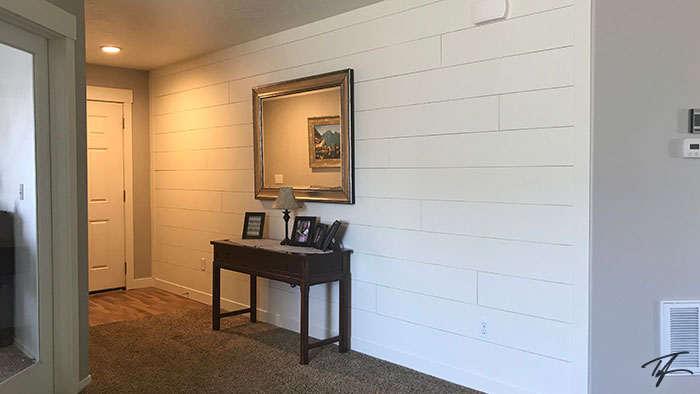
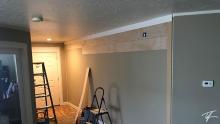
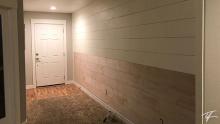
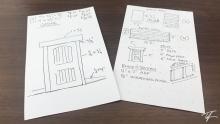
We're beginning to do some minor home improvements and decided that we want to get the most bang for our buck to begin with. So, we are turning our 16.5-foot long entry wall into a "feature wall" with 8-inch faux shiplap with trim.
The faux shiplap plan
We were going to do two walls, this one and the wall on our stair landing. The stair landing wall will still be done, but when the budget allows. Trim just cost more than we expected.
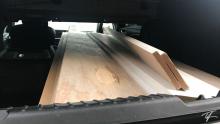
Because of the massive scale of this wall, I decided to go with a wide plank faux shiplap, chunkier look to reduce the number of lines on the wall. I had the home improvement store cut all of the plywood into 8-inch wide 8-foot long strips. They were then trimmed down from that size as needed using a jigsaw and/or miter saw.
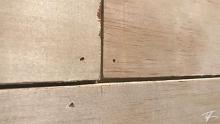
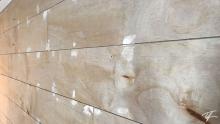
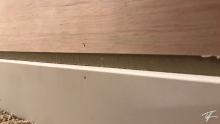
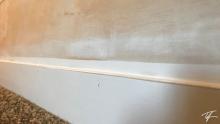
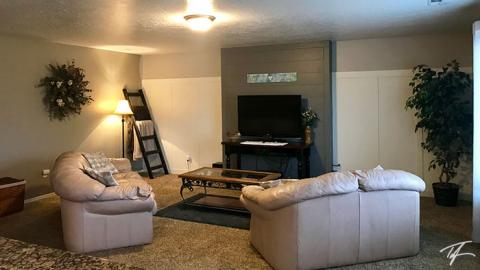
I attached the faux shiplap to the walls using 18-gauge brad nails with "nickel" spacing between each board. The wall was trimmed with molding all around. Once the new carpentry was in place, I painted the feature wall white (FieldStone White, as I call it). Original surrounding walls (formerly brown) were painted "Revere Pewter" (a Benjamin Moore color).
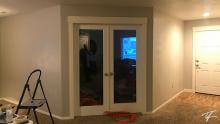
I also re-trimmed out the front door, a French door, and remaining entry base molding with a craftsman/farmhouse style and still hope to repaint the front door's interior black.

Materials needed for faux shiplap
- 1/4-inch underlayment plywood
- a few nickels (5¢)
- 18g brad nailer
- brad nails
- trim
- caulking
- paint
Hard lessons learned
- Don't have the hardware store cut down your material. Accuracy is not their specialty and nearly half of my cut boards ended up different widths at each end. I had to recut them and make it work.
- Don't have the height you're covering with the shiplap be divisible by the same height of your shiplap. Example: 88-inches and 8 inches. If it comes in short you'll have an awkward gap that you'll have to figure out what to do with.
- Take the estimated time for completion and double it. It always takes longer than you think! :)

