Great Room Feature Wall
Great Room Feature Wall
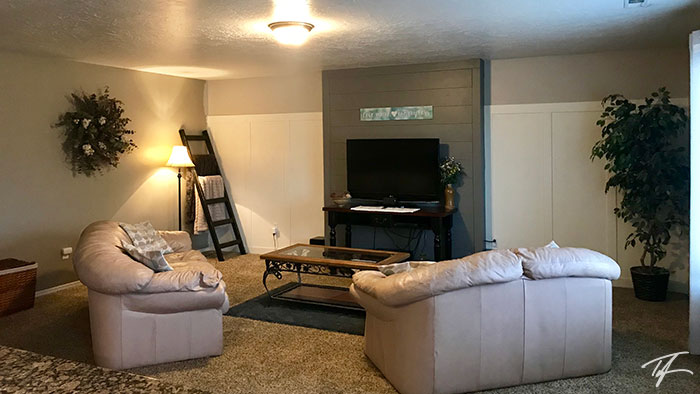
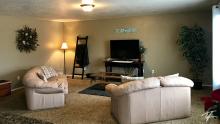
What do you do with a very long 19' 6" (6 m) wall in the family room/gathering room adjacent to the kitchen? Aside from the kitchen, it is probably the room the most time is spent in. The first preference would have been to put a fireplace in this room, but that was not an option due to the costs associated with bringing a gas line, venting, fireplace, etc. Instead, a feature wall was designed that would give some of the visual benefits of a fireplace at a much more affordable cost.
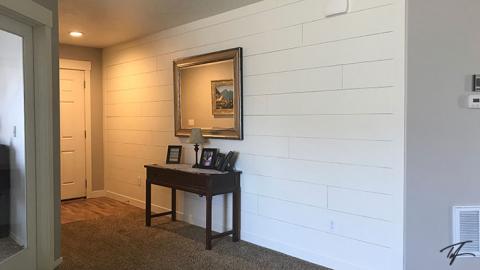
This is the second feature wall in this house, the first was in the home's entry.
Apart from tools and accessories, the total cost of materials was about $300. Free SketchUp plans and a materials list are included below.
Designing and Building the Feature Wall
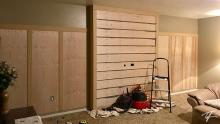
It was determined to divide the feature wall into thirds. In the center third, A shiplap box was designed to give some depth to the wall for variation and some functionality. For the left and right thirds, a board and batten feature was designed. It worked out that the center third ended up being 6' 6" (1.98 m) wide and the height of the board and batten is 6' 4" (1.93 m). The similar sizes help create a cohesive and balanced massing for the feature wall.
Shiplap Box
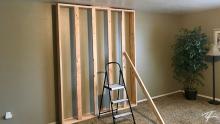
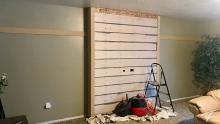
The shiplap box was built using 12 2x4s. Eight of them were cut to 91" with four cut to 76". The sides and top were doubled up using pocket screws to make the box 7" deep, 94" tall, and 76" wide. The remaining four 2x4s were attached as studs in a "facing" position to allow for easy attachment of a wall mounted TV. Once the framing was built, it was moved into place and secured to the floor and wall.
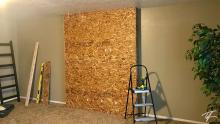
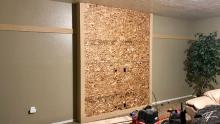
It was then faced with OSB with holes cut out for electrical and other cables for the TV. Since there isn't a power outlet behind the box, it was determined to use an appliance repair cord to provide power to the box out the right side to an adjacent outlet. 2" desk grommet holes are used to fish various cables and wires for the TV and speakers.
After facing the box with OSB, MDF was ripped and cut to size for the sides, and front trim. Two sheets of 5mm plywood underlayment was ripped to 7 7/8" and spaced using nickels to create a shiplap look. It is important to paint where the OSB will be exposed as you put up the shiplap boards.
The shiplap box was painted Benjamin Moore Chelsea Gray eggshell finish.
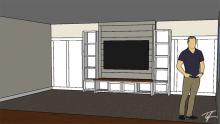
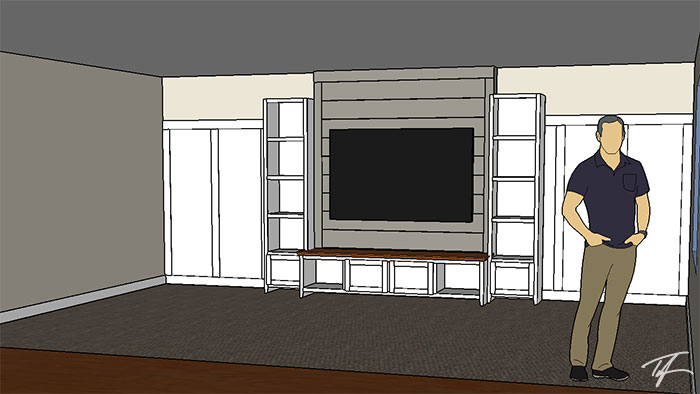
A 46" TV is currently mounted on the wall. The SketchUp rendering shows what a 70" TV would look like. As a side note, a strong nylon string was secured to a screw just behind the top grommet hole that is plenty long to easily fish wires from the lower grommet hole up to the TV when needed.
Board and Batten
The board and batten was built by ripping MDF into 4" strips for the boards (horizontal strips) and 3.5" strips for the battens (vertical strips). In order to have a flat texture on the wall, three sheets of plywood underlayment was cut to fill in the space inside the board and batten. The original walls have a heavy orange peel texture.
The board and batten was painted Sherwin-Williams Swiss Coffee eggshell finish (same color as the ceiling and trim throughout the house).
Original Wall
The remaining original walls were painted Benjamin Moore Revere Pewter eggshell finish.
Future Phase
Custom cabinetry will eventually be built to add more functionality and visual interest to the new feature wall. See the SketchUp plans and rendering.
Materials Used
- (12) 92.5" 2x4s
- (2) 0.5" OSB sheets
- (5) 5mm plywood underlayment
- (2) 0.5" MDF sheets
- miscellaneous electrical materials
- joint compound, caulking, paint
