Dividing a Room
Dividing a Room
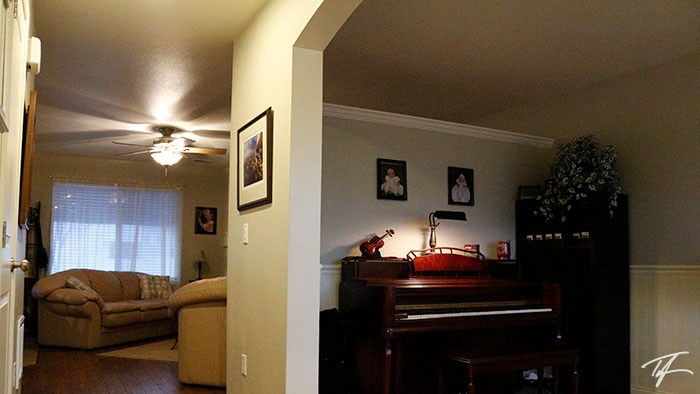
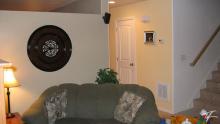
When we moved into our house, the home had an extremely open floor plan. Nothing divided the "L" shaped main level into rooms or defined spaces except the flooring in the kitchen. The main entry opened up into an area of about 14 feet by 34 feet. As soon as we could, we divided the space into a hallway, front room, and family room in the back portion.
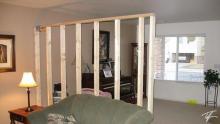
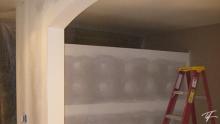
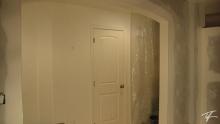
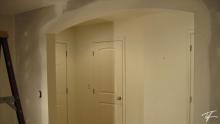
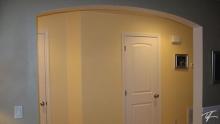
In designing out the new configuration, I wanted to create an archway between the new front room and the new hallway to match the arches on our interior doors. I also wanted to allow some airflow between the two rooms and so it was designed to have a wall that didn't reach the ceiling between the family room and the front room. I'm a big fan of indirect lighting, so I planned on having rope lighting on top of the wall that could turned on and off by a wall switch.
I wanted the arch way to have some "meat" to it so I built that wall using 2x6s while using 2x4s on the shorter open-top wall. I built the new framing in the garage and brought them in the house when they were ready to be placed. I even did a lot of the wiring before bringing them in the house.
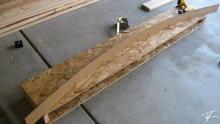
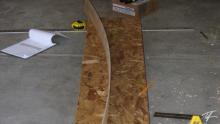
In order to match the shape of the interior door arches, I graphed out the doors by measuring the width, amount of drop, and graphing it in Adobe Illustrator scaled it up to the width of my arch. Once that was perfected, I printed that out with inch by inch specifications of how my arch would measure out. On the OSB boards, I measured down and across to match my plan, putting in a screw as needed and then tracing the contour using 1/8" hardboard bent to the shape. See the Related Files section below for the documents used to plan out this project.
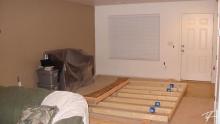
Exact wall placement was determined by existing studs in the two walls these new walls were being connected to so as to allow a strong wall-to-wall connection.
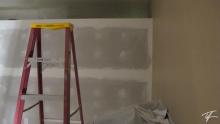
In order to get the walls placed without ripping up or replacing carpet, I nailed a base plate of 2x material through the carpet and into the subfloor to get placement and then cut the carpet and pad with a utility knife. Once the carpet and pad was cut, I pulled up the 2x material and removed the carpet that was no longer needed. I then renailed the base plates back into their now permanent place. I also nailed in a top plate onto the ceiling. The walls that were built in the garage were built to fit between the top and bottom plates. This allowed me to hammer them into place as needed without damaging the ceiling or flooring.
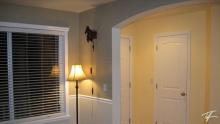
Once the walls were framed, wired, drywalled, mudded and taped, textured, and painted, I decided to add some wainscot and window trim in the new room.

